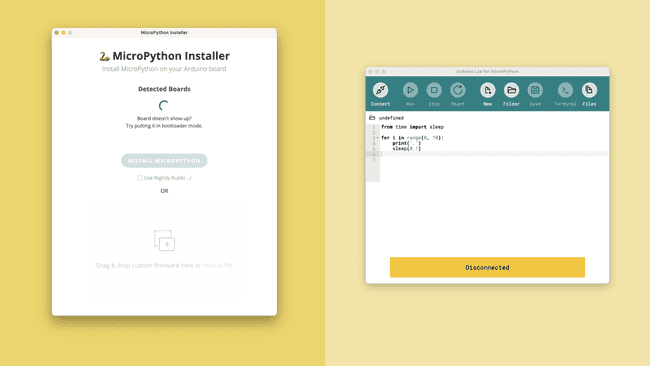
2. MicroPython Installation Guide
Learn how to install a code editor needed to program your board with MicroPython.
In this chapter we will go over how to install the prerequisite software: the MicroPython firmware installer and the Arduino Labs for MicroPython (Code Editor). The installer will install a MicroPython firmware on your board, and the code editor will allow you to program the board with MicroPython.
Software Required

Later in this chapter, we'll walk you through the installation process step by step. You can download the required software below, but if you do - please return to this page afterwards for instructions on what to do with them. To run MicroPython code on your Arduino board, you will need:

Once this has been completed, you will use the MicroPython firmware installer to install the firmware to your board, which lets you access this new MicroPython Arduino workflow.
Step by Step Installation
1. Download the Arduino Lab for MicroPython
This editor will acts as your development environment, and it is here you will write your code as well as load it to your board.
First, download the app here. It will be downloaded as a
.zip.exeIf you're on macOS, move the application to your Applications folder.
2. Download the Firmware Installer
The Firmware Installer program will help install MicroPython on your board.
It will automatically download the latest version of the MicroPython firmware and install it on your board, so that all you need to do is to connect the board and press a button.
First download the app here, and extract the files to a folder on your computer.
If you're on macOS, move the application to your Applications folder.
3. Flash Firmware
Now open the Firmware Installer tool, select the Arduino Nano ESP32, and press "Install MicroPython". Wait for the installer to do its magic and after some seconds, we are ready to go!

If the installer doesn't find the MicroPython firmware automatically, you can download it manually from here
4. Connect your Code Editor and Board
In the Arduino Lab for MicroPython app, press connect in the top left corner and choose the serial port that comes up. This is your Nano ESP32.

5. Verify
Now, to verify things are working as they should, copy the script script below into your
main.py1from machine import Pin2import time3
4myLED = Pin(0, Pin.OUT)5
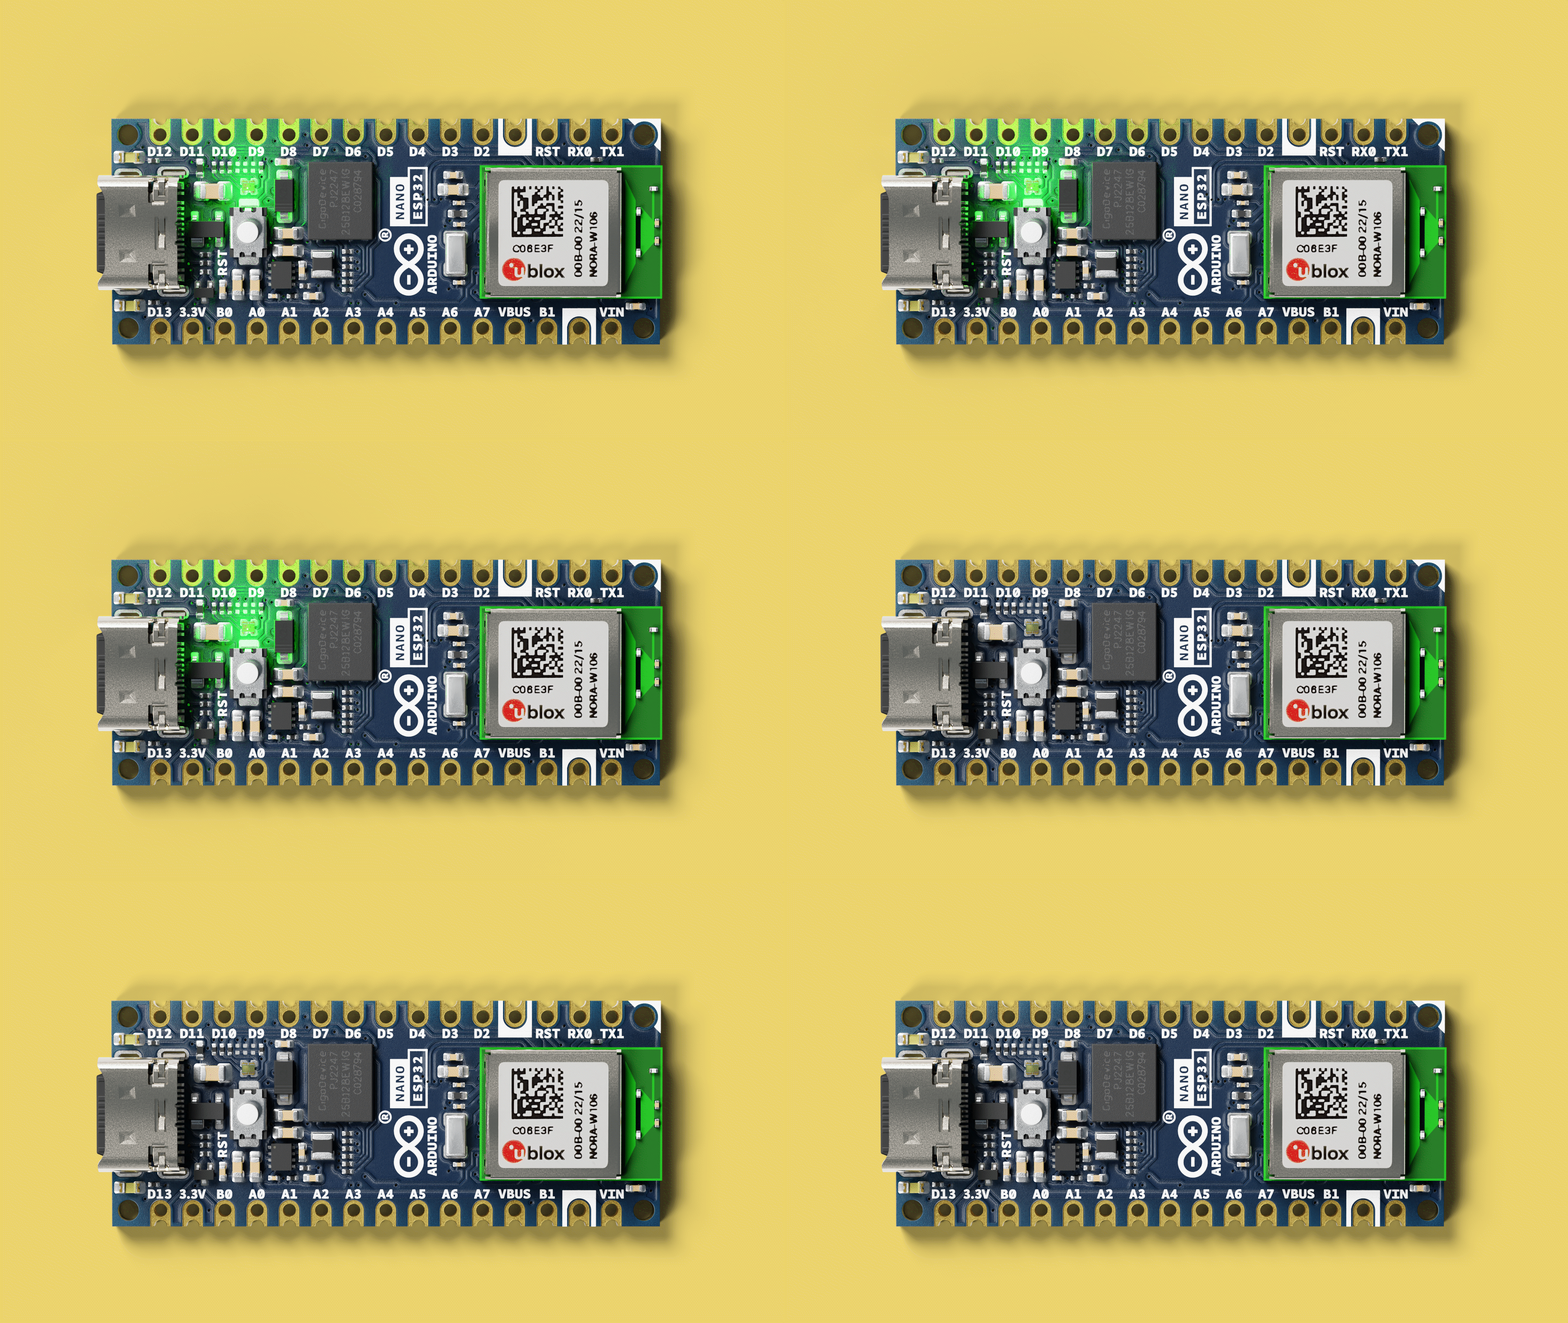
6while True:7 myLED.value(0)8 time.sleep(1)9 myLED.value(1)10 time.sleep(1)After loading the script, we should be seeing a green light blink on the board.

Some boards from the first limited production batch were assembled with a different RGB LED which has the green and blue pins inverted. Read our full Help Center article here.
So what just happened? We just loaded a script to our board, instructing it to blink a green LED every second. This is to confirm things are working, and if you see blinking green light, you successfully installed and uploaded a script to your board!
If you ever want to return your board to program it with the Arduino IDE, you need to put it in bootloader mode. You can read about what this means and how to do it in the Nano ESP32 Cheat sheet.
Troubleshooting
Got stuck? Here are a few common issues you may run into and tips on how to move forward.
If you can't find what you're looking for in this article, you can have a look in the Arduino Help Center for more tips.
Board not Detected
If your board is not detected by the MicroPython firmware installer app, double check that you've correctly put your board in bootloader mode.
Go back to step 3 in the Step by Step section, and make sure that your board has a purple light by the end of it.
Connection Fail
If you cannot connect to your board in the code editor, make sure you're selecting the right port.
You can try disconnecting any other serial device such as other arduino boards from your computer, to make sure that only one device appears in the list.
Reset to Arduino / C++
After you've installed MicroPython on your board, you will not be able to program your board in the Arduino IDE unless you reset it to its factory setting.
To do this, tap the reset button twice, but not too fast (about 1 second between the taps). If your board is fading its green LED, you've reset the bootloader and your board will now appear in the Arduino IDE.
Note that you will need to upload a sketch to your board after resetting the bootloader. If you do not, MicroPython will still run on your board.
Summary
Congratulations! You’ve completed the installation chapter of MicroPython 101.
Having trouble? Continue to the troubleshooting section. Otherwise, move on to the Next chapter.
Suggest changes
The content on docs.arduino.cc is facilitated through a public GitHub repository. If you see anything wrong, you can edit this page here.
License
The Arduino documentation is licensed under the Creative Commons Attribution-Share Alike 4.0 license.